- Web templates
- E-commerce Templates
- CMS & Blog Templates
- Facebook Templates
- Website Builders
Loaded 7. How to manage languages
June 4, 2014
The following tutorial is going to show you how to manage languages in Loaded 7.
Loaded 7. How to manage languagesNOTE: by default Loaded 7 store provides only the English language. If you need to add some other languages, you will have to download and import language packs. You can find the current available packs on the following page.
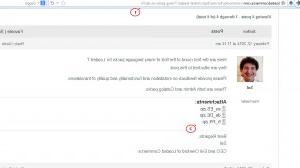
Adding a new language
-
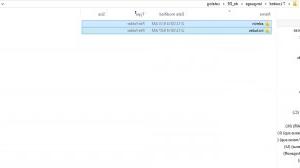
Extract the .zip file with the language pack. Feel free to check the following instructions for WinZip (Windows) and StuffitExpander (Mac) software.
Upload the content of the catalog folder (these are admin and includes folders) to the root of your Loaded 7 installation on the hosting server.
Log into your website admin panel.
Navigate to Settings->Setup->Languages. Click the Import Language button.
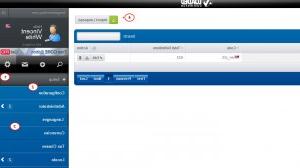
Browse the language pack you are going to upload.
Select one of the following options defining how your language pack is configured:
Only add new records.
Only update existing records.
Replace all.
-
Click Save to confirm the import.
-
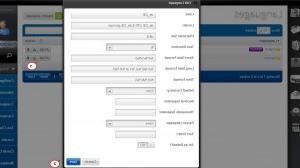
Editing a language
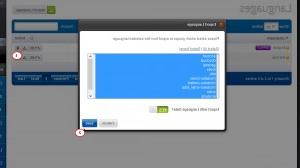
Exporting a language
Deleting a language
If you want to remove some language, just click the Delete button for the required language and confirm the deleting.
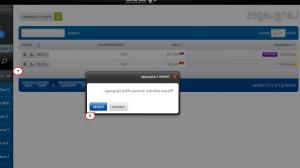
NOTE: The only or default language cannot be deleted.
Check your webstore front end. Now we know how to manage languages in Loaded 7 templates.
Feel free to check the detailed video tutorial below:
Loaded 7. How to manage languages


