- Web templates
- E-commerce Templates
- CMS & Blog Templates
- Facebook Templates
- Website Builders
Loaded 7. How to manage boxes
June 5, 2014
The following tutorial is going to show you how to manage boxes in Loaded 7 templates.
Loaded 7. How to manage boxesModules Installation
Log into your webstore admin panel.
Navigate to Settings->Setup->Template modules-> Boxes. There you will find modules that exist within the framework of the Loaded 7 template structure. These modules define boxes within your store.
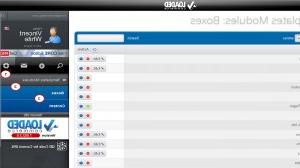
Click the Install button to activate the module you need.
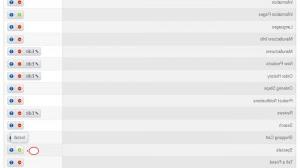 Some modules can be configured and you can get access to their options by pressing the Edit button. If you need to disable some module, just click Uninstall.
Boxes Layout
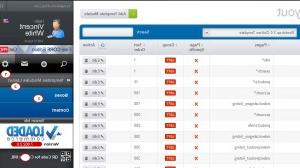
If you need to locate a module in a certain position, go to Settings-> Setup -> Template Module Layout-> Boxes in your admin panel.
-
Click the Add Template Module button.
-
Configure the following options in the pop-up window:
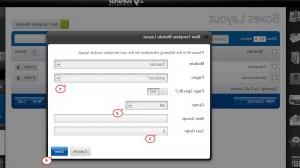
Module: – Select the required module from the drop down menu.
Pages: – Choose a page to locate the module.
Page specific? – Is the module page specific: yes or no.
Group – Select a group for the module.
New Group – If you need to create a new group, put the title here.
Order – Define module order on the page.
Click Save to confirm the changes.
If you want to make some changes in the boxes layout configuration, click the Edit button. Implement the changes you need in the pop-up window and click Save.
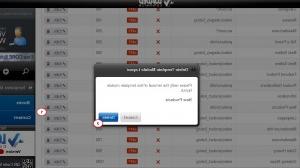
Deleting a Module
Check your website front end. Now we know how to manage boxes in Loaded 7 templates.
Feel free to check the detailed video tutorial below:
Loaded 7. How to manage boxes


