- Web templates
- E-commerce Templates
- CMS & Blog Templates
- Facebook Templates
- Website Builders
How to install WAMP web development environment
September 19, 2012
After you complete this tutorial about local environment, most likely you will need a reliable remote server to install your website to – that’s just how life is. For this we suggest you to take advantage of a special hosting offer BlueHost has provided to our audience – $2.95/mo premium hosting plan. It has been tested by our experts and has been proved to be 100% compatible with our templates.
1. Go at http://www.wampserver.com/ and select Download menu at the top. Choose version for your OS and download it.
2. Run WAMP installation file and follow on screen instructions.
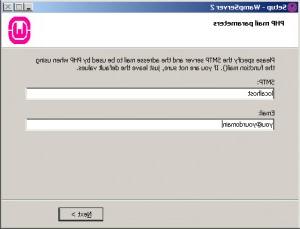
3. Specify your SMTP server name and email address to use with PHP mail() function on PHP mail parameters step. Leave the default values if you do not know what to use.

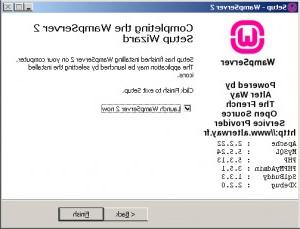
4. Check Launch WAMP server 2 now checkbox on the last installation step.

5. You should see green W icon in system tray now

That means that WAMP is running.
6. Left click on that icon to open menu.

Choose localhost to open default server page in your web browser or click on phpMyAdmin to run phpMyAdmin interface.
Feel free to check the detailed video tutorial below:
How to install WAMP web development environment


.jpg)
